This post provides you a basic step-by-step process of making your own handmade watercolors
Watercolor paint is an alluring medium of traditional fine art, which when mixed with water creates translucent layers of color on paper. The use of watercolor dates back to prehistoric times when primitive humans made paints from charcoal, ochres, and water. They applied them with fingers, sticks, or whatever was naturally available, to communicate and document their life. Since antiquity, watercolor is used as a medium of creative self-expression!
What is watercolor paint?
Watercolor paint is composed of finely ground pigment particles suspended in a water-soluble binder (generally gum arabic). Early paints were simply ground earth or clay mixed with saliva or animal fat. Fast forward thousands of years, watercolor paints today are a combination of natural and synthetic pigments that also contain additional additives which alter the paint’s appearance, the way the paint performs, and extend the shelf life.
Why handmade watercolors?
Making watercolor paints primarily from foraged pigments is central to my creative process (read my detailed blog on foraging pigments). I have been greatly influenced by the Indian tribal artists and their folk art to use natural pigments for my creative art process. The vibrant and beautiful rich colors of nature are absolutely something to be inspired with. Using natural pigments strongly aligns with my values of using non-toxic and local materials that can return to the earth!
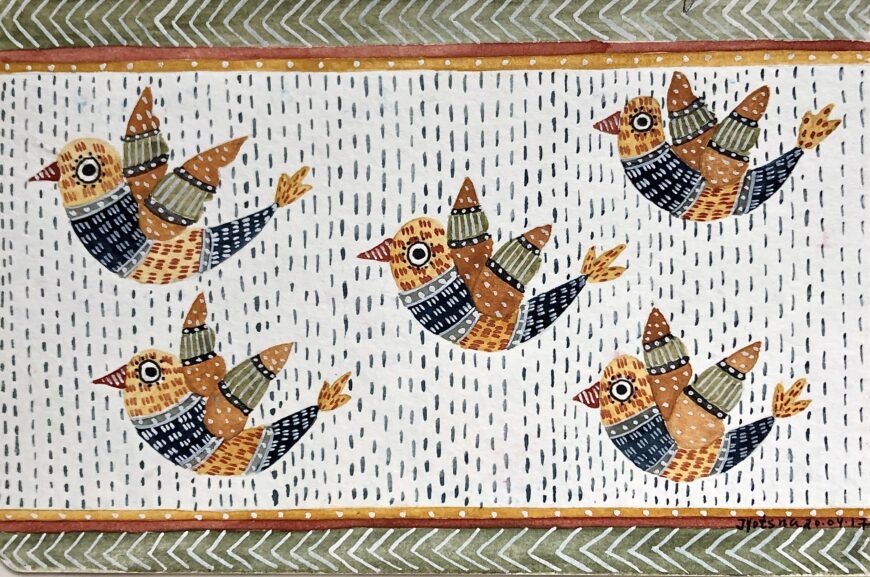
Gond folk art: Ochres and Indigo on watercolor paper
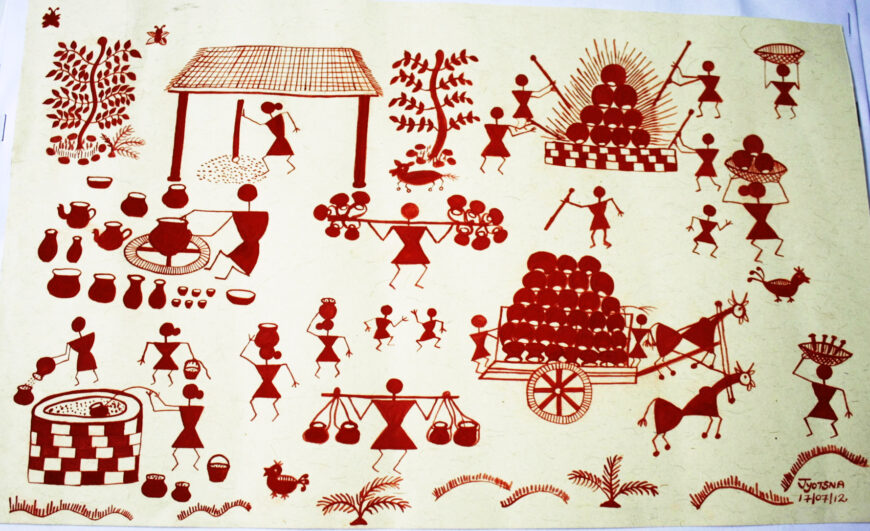
Warli folk art: Red ochre on handmade paper
Most commercial watercolor paints today use synthetic pigments, the manufacturing processes of many are quite detrimental to our fragile environment, and they are certainly not sustainable. Before the modern paint manufacturers, artists made their own paints and passed the artisanal skill down from master to student. Somewhere along the way, we lost that connection with our ‘sacred tools’. Putting things in perspective, we use myriad things in our day-to-day lives, and a large part of it can be easily be made by us in a ‘do-it-yourself ‘ approach!
The process of making your own watercolor paints is a transforming, enriching, and mindful process! Making your own paints allows you to have complete control over the paint-making process, to make high-quality paint from pigments of your choice that are free of additives such as fillers, dispersants, preservatives, heavy metals, and toxins, etc. It also enables you to manipulate your paint to have certain characteristics. As a result, each color’s unique and natural characteristics are allowed to beam!
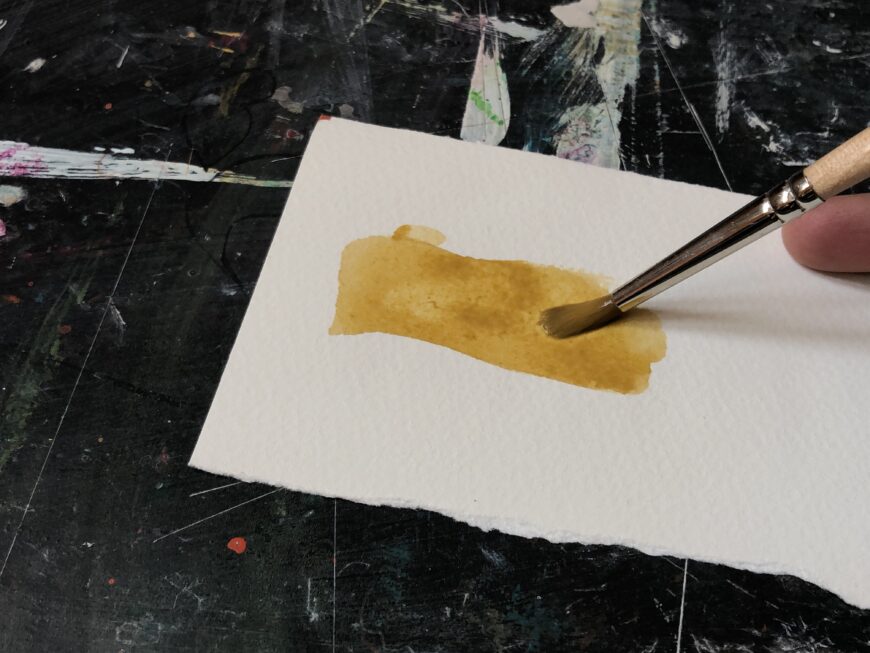
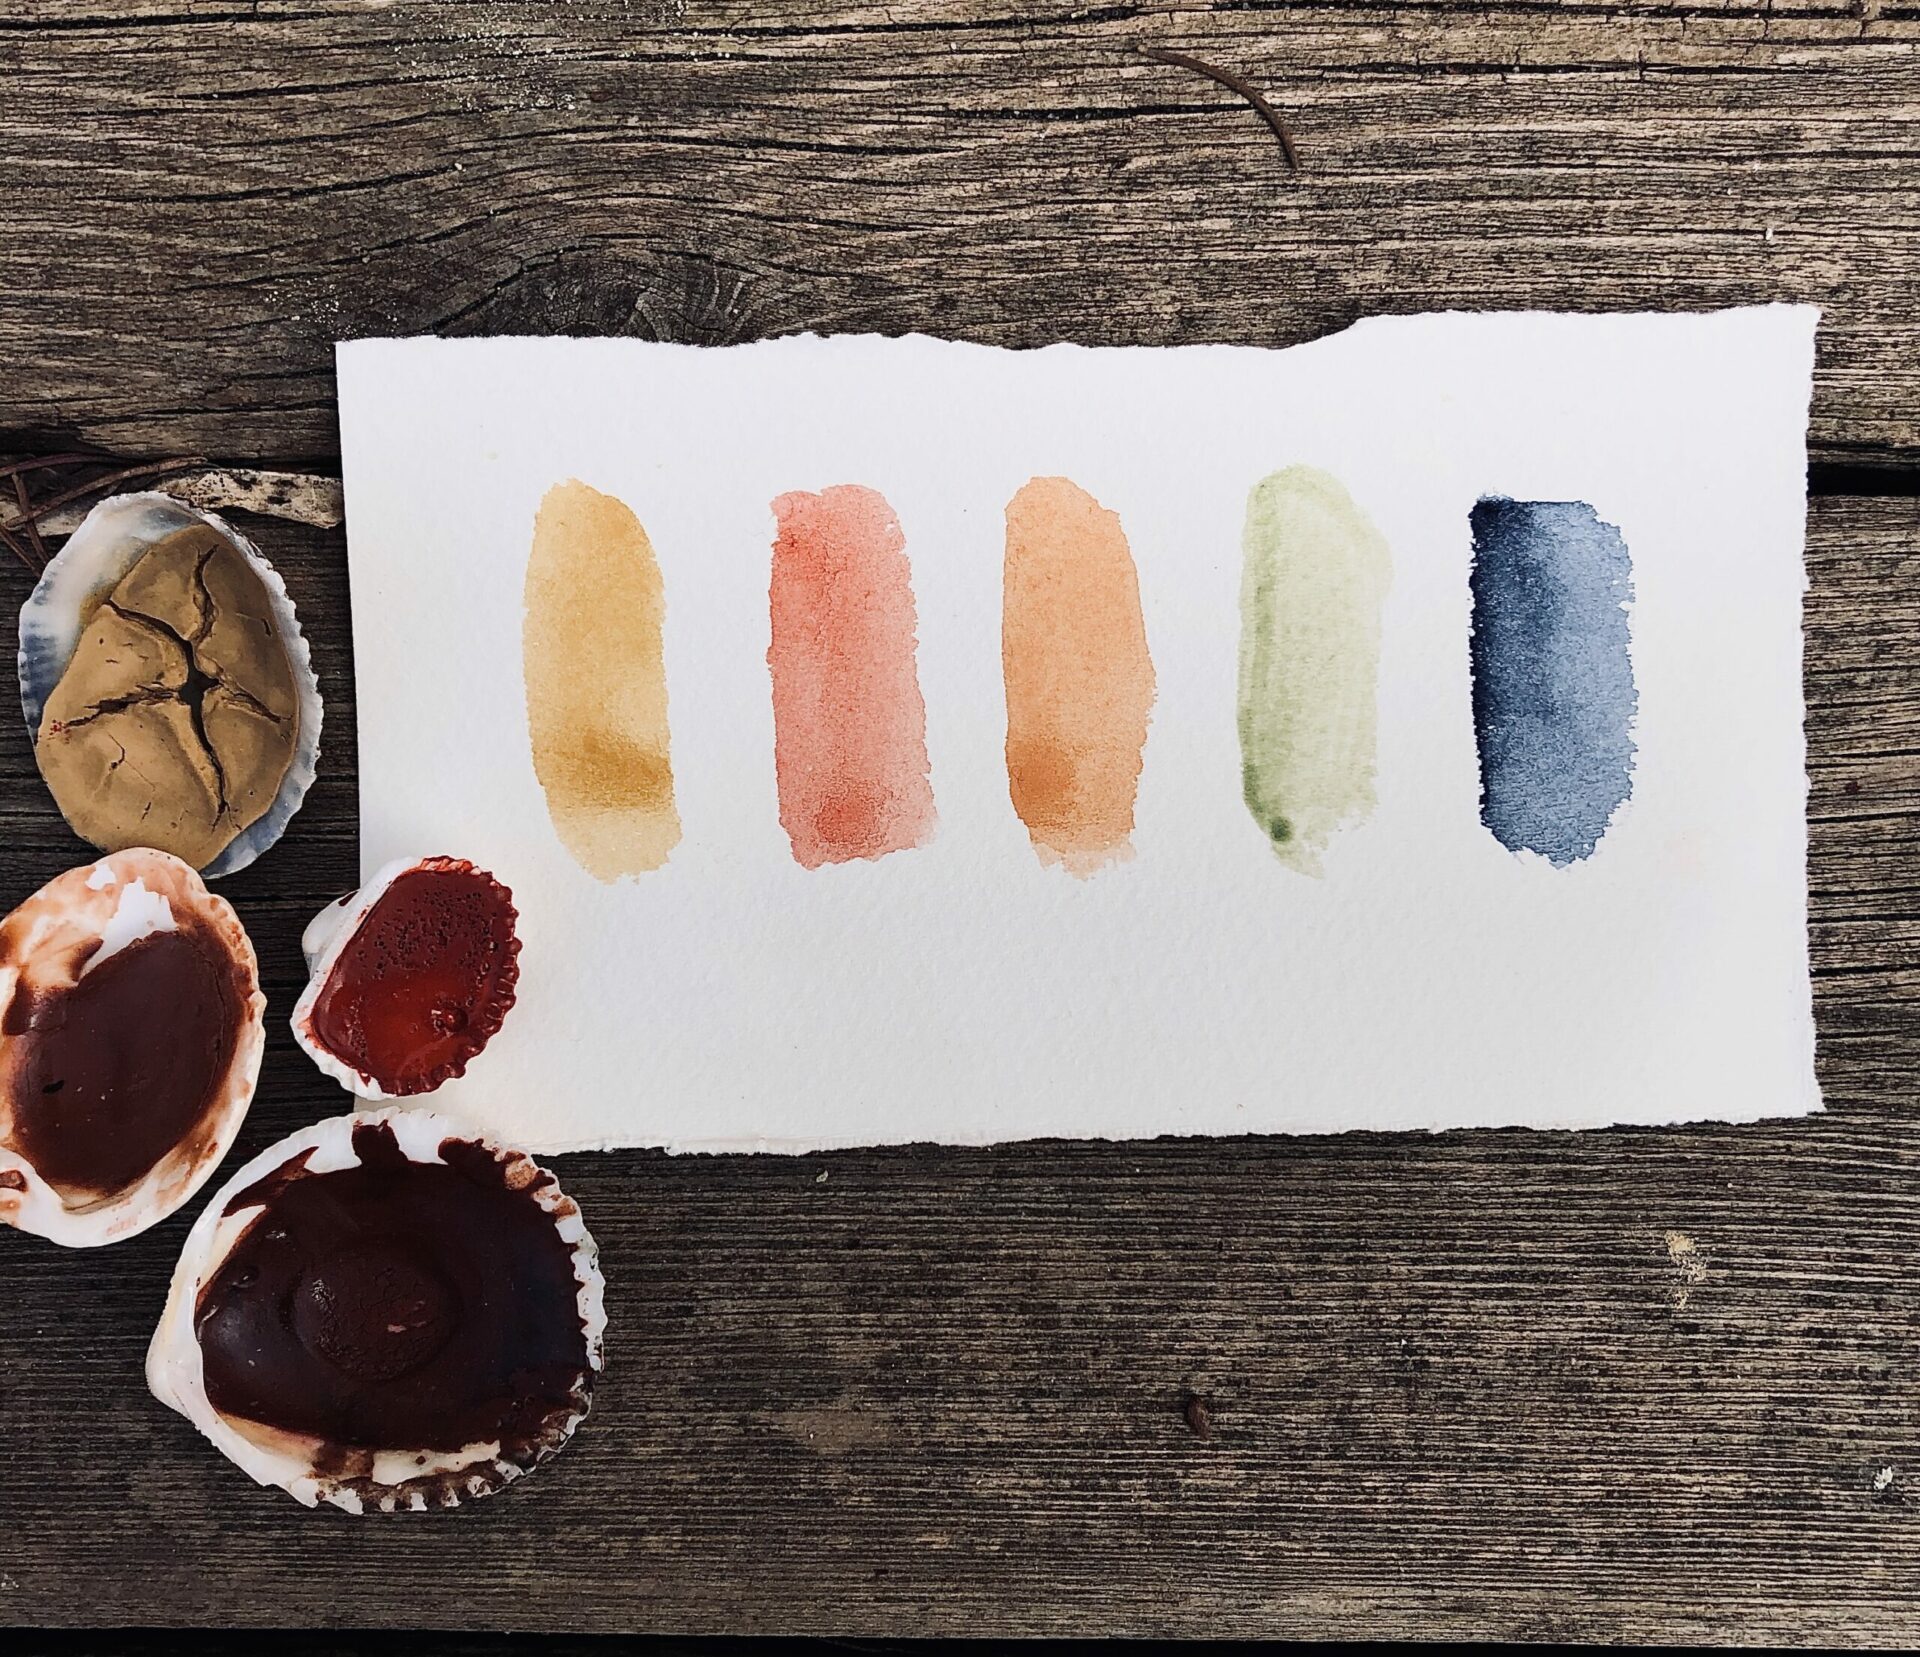
Handmade watercolor paint- Yellow Ochre PY43
How to make your own Watercolor Paints?
Whilst the art of making watercolors per se isn’t very complicated but it does take a while to excel in this skill as it involves plenty of trial and error experiments. Following is a brief overview of my process:
What you need to make handmade watercolors
Ingredients
- Gum Arabic
- Ground pigment
- Warm water (use distilled if tap water is highly alkaline)
- Honey/Glycerine
- Grinding slab
- Glass muller
- Natural preservative
- Empty watercolor pans or bottle caps
(Watercolor paint making tools and pigments can be purchased from Jackson’s art )
SAFETY
Before commencing with the paint-making process wear eye and respiratory protection when working with dry pigment. Do not use equipment and glasswares that are used in the paint-making process for drinking, eating, or cooking food. Never work in the kitchen or dining area. Work in a well-ventilated designated work area. Do not eat and/or drink while making paints.
Method of making handmade watercolors
Binder Solution
The fundamental step in making watercolor paint begins with the preparation of gum arabic binder solution. The following recipe works for most of the pigments but some require a bit of tweaking with ratios.
1. Dissolve the gum Arabic power: Dissolve two-part gum Arabic powder in four parts warm distilled water. Use distilled water only if the tap water in your region is highly alkaline which could interfere with the characteristics of your paint. Pour slowly and stir continuously for 10-15 minutes.
2. Add Humectant: Add one part of honey or glycerine (humectant) into the binder mixture at this stage. Addition of humectant makes the paint more fluid and easy to work with later. Without the honey, the pan will take a long time to re-wet and ‘release’ any color onto the brush.
3. Natural preservative: Add a couple of drops of essential oil (clove/rosemary) with antifungal and antibacterial properties to the binder solution.
4. Let the solution stand for 24-48hrs to allow complete hydration of the gum arabic particles before use.
Pigments
Pigments are crushed fine particles that allow us to experience color. Every watercolor paint that currently holds its place in my palette box was created using consciously chosen pigments after extensive research. My criteria for pigment selection take into consideration the health and environmental impact of a particular pigment, its durability, and versatility.
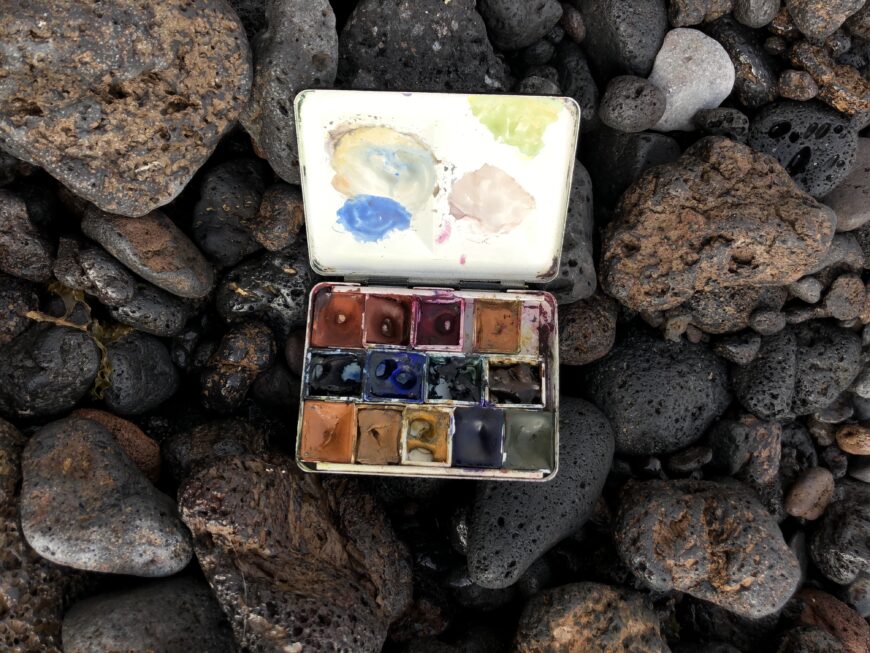
Today there are 100’s of pigments available to choose from for making your own unique paint palette. I recommend earth pigments if you are just starting to learn the skill of making handmade watercolors. Earth pigments include an enormous range of colors, from warm and strong reds, yellows, to cool and gentle greens and blue. They make for safe and eco-friendly paints (read more about pigments here and here).
Mulling
Mulling is the crucial process of evenly suspending pigment particles in the binder. I use a glass a muller to finely grind the pigment. It is quite a labor-intensive process, as mulling a single batch of paint can take an hour or more depending upon the kind and amount of pigment you chose to work with.
Place desired quantity of pigment onto the surface you are using. Add an equal amount of binder to the middle of the pigment (1:1 ratio). Using a palette knife, gently fold dry pigment into the binder, mixing as much as you can (before adding more binder until all the pigment is incorporated and the mixture has a paste-like consistency).
Using a glass muller, slowly begin to grind the pigment/binder mixture in a circular motion, spreading it across the glass palette in a thin layer in order to grind the pigment as finely as possible. Using a scraper pool the pigment and binder mix into the center and repeat the process of grinding and mulling. If the paint is too stiff to mull smoothly, add more of the binding mixture. The duration of the mulling process varies depending on the pigment particle size.
Test the paint during the mulling process by swatching it on a piece of watercolor paper. Allow the paint swatch to dry before rubbing your finger over it. If the paint dust off that indicates a little more of the binder is required. If the swatch appears too shiny it indicates too much binder and more pigment should be added.
It takes a bit of experience to get the hang of the process and to know when your paint is finished!
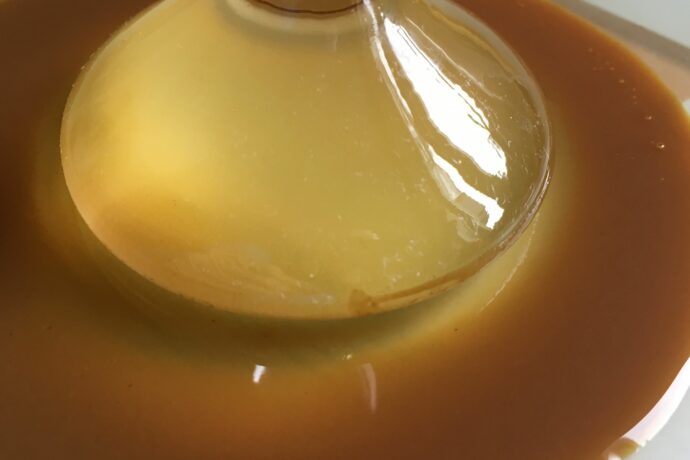
Mulling process
Leave to cure
Once you are satisfied with your final paint test, pour the mixture into pans or bottle caps and leave them to set. If the drying pan cracks then make a note of this and add a little more gum solution next time to that particular pigment. A little cracking doesn’t affect the usability of the finished paint.
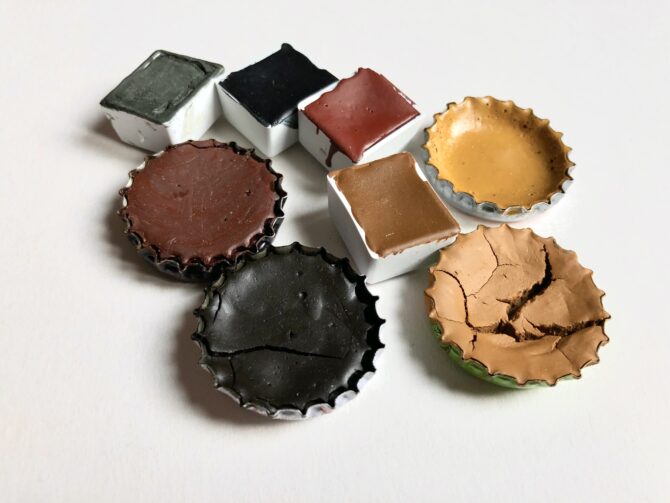
Handmade watercolor paint pans
Making your own watercolor paints is a creative process that is all about exploring, trials and errors, learning new things, and allowing yourself to grow in your own unique way. It will make you a resourceful artist, not only that, but you’ll also get well acquainted with your art supplies, which will help you in your creative process.

1 Comment
[…] Handmade natural watercolors (work with whatever you have) […]