One of the most exciting aspects of eco-printing is its inherent unpredictability. A plant’s color in nature may not always match the hue it imparts on your fabric. This element of surprise, driven by nature’s quirks, is a big part of what makes Eco-printing so enjoyable and unique.
In 2019, while on a week-long camping trip along the coast of Algarve in Portugal, I stumbled upon the art of Eco-printing. Although I wrote an article about my experience at the time, it has taken me four years to finally share it with you!
During our trip, we visited the enchanting village of Alté. Its charm led us to explore further, and we stumbled upon an artisanal gallery called Gadjodilo. There, we met Vanessa, an artist who worked with locally foraged botanicals to create Eco-printed designs. She explained the process to me and shared how she had been inspired by India Flint’s work. Watching her create beautiful, nature-infused patterns on organic cotton left me fascinated by the endless possibilities of this technique.
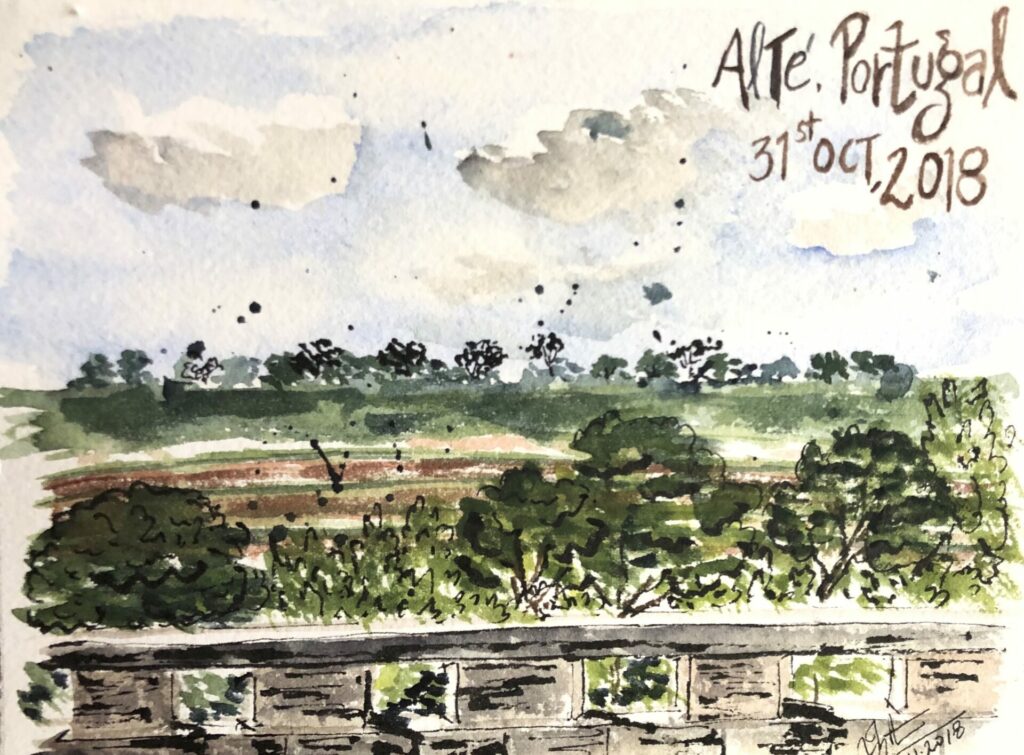
Watercolor sketch on location- Alté, Portugal 31.10.2018
Although I attempted to replicate the Eco-printing process at home several times, I eventually paused due to the challenges of limited space and high energy consumption in our small apartment. After much trial and error, I developed a method that is far less energy-intensive and suits my needs perfectly. In this blog post, I share the technique I first began with—an Eco-printing method that uses minimal supplies, making it an ideal starting point for beginners.
What is Eco-printing?
Eco-printing is kind of a natural dyeing technique that uses leaves, flowers, and other plant materials to create patterns and colors on fabric or paper. The process involves bundling plant materials and fabric together, then steaming or boiling the bundle to transfer the color and patterns from the plants to the fabric. The exact method and materials used can vary depending on the artist, but the result is a unique, one-of-a-kind print that captures the beauty of nature. It also allows you to work in harmony with the seasons, using materials that are grown, found, shared, or responsibly foraged.
The origin of Eco-printing
Eco-printing is a relatively new technique that has been developed in recent years, but it is based on traditional methods of natural dyeing that have been used for centuries. The specific term “Eco-printing” as it is known today was first coined by Australia based artist India Flint in early 2000s. India Flint is credited with being the pioneer of the technique and her book “Eco Colour: Botanical Dyes for Beautiful Textiles” helped popularize the method.
What makes Eco-printing unique?
The most distinguishing feature of Eco-printing is the use of renewable and sustainable natural materials, which results in each print being absolutely unique and irreproducible. The plant type, leaf age, and mordanting procedures (optional) used determine the patterns and hues obtained. Eco-printing is a rewarding creative process that allows you to connect with your natural environment and learn more about the local flora.
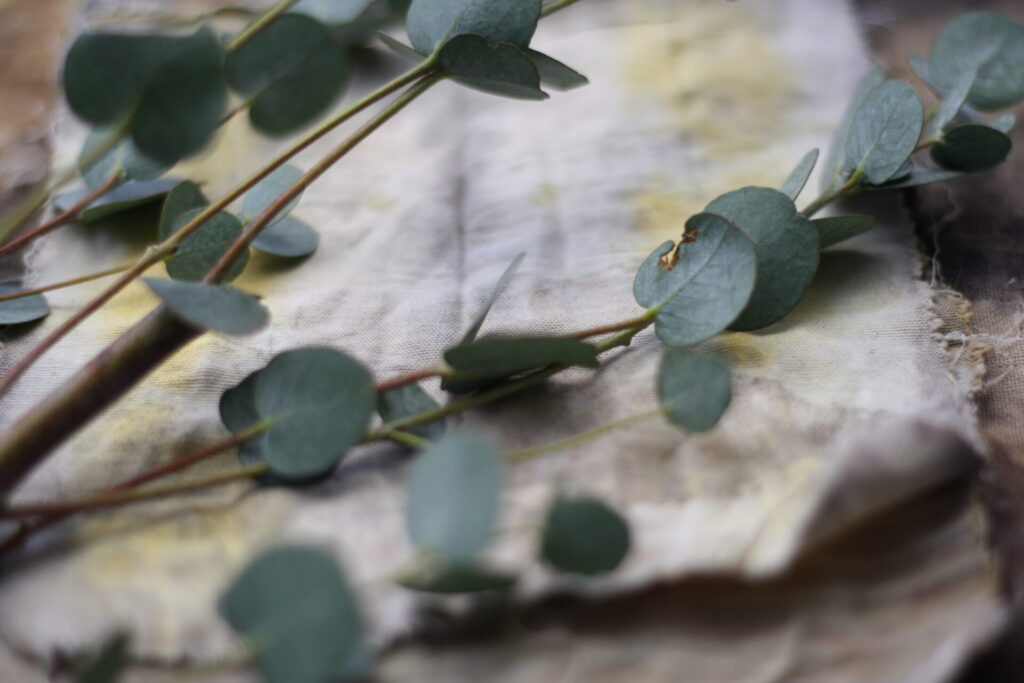
Eco-printing with Eucalyptus leaves ( Eucalyptus gunni) bought from a local florist
Process of Eco-printing
Begin by looking for leaves and flowers that have left impressions on the ground since these will provide a colorful print. When Eco-printing, it’s essential to choose your fabric carefully. Silk or wool is a great option for beginners as they absorb the dye easily and can be printed without using any mordants. Once you have gained experience experimenting with different plants, you can explore using plant-based fabrics.
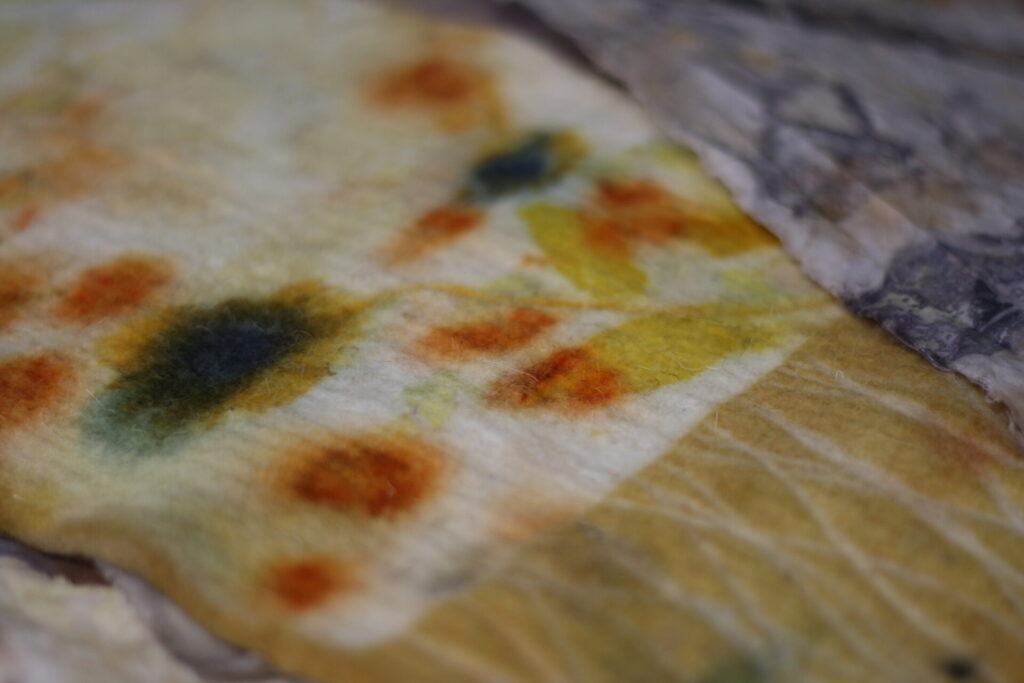
Eco-printed wool fabric without mordants
Required Supplies
Following is a list of basic supplies required for Eco-printing:
- Fabric: The fabric to be printed on, such as silk, cotton, or wool.
- Natural materials: The natural materials that will be used for printing, such as leaves, flowers, berries, bark etc.
- Mordant: A substance used to fix the dye to the fabric, such as vinegar, alum, iron or tannin.
- Dye pot: A large pot or container for heating the fabric and natural materials together.
- Rolling pin or press: To press the natural materials onto the fabric.
- String or rubber bands: To bundle the fabric and natural materials together before dyeing.
- Scissors or pruners: To cut the natural materials into the desired shape.
- Protective gear like gloves, mask and apron: To protect your skin and clothes from the mordant and dye.
- A heat source: to heat the dye pot, usually a stove or a hot plate.
Safety Precautions
It is important to follow safety precautions during the process to protect yourself and the environment.
- Always wear gloves and a mask when handling mordants and dyes to protect your skin and lungs from potential irritants or chemicals.
- Use a well-ventilated area or wear a mask while steaming the fabric to avoid inhaling fumes.
- Keep the natural materials and dyes away from children and pets.
- Do not dispose of any remaining dye, mordant, or natural materials in a way that could harm the environment.
- Be aware of the plants you’re using and their toxicity, some plants can be poisonous or allergenic.
- Follow the instructions on any chemical products and use them in the recommended amounts.
- Clean the equipment thoroughly after use and store it in a safe place. Do not use them for cooking.
- Always check the fabric for any signs of wear or damage before printing to avoid any accidents.
By following these recommended safety precautions, you can enjoy the creative process of Eco-printing while also protecting yourself and the environment.
List of natural materials for Eco-printing
The natural materials that are most commonly used for Eco-printing can vary depending on your location and the time of year.
Examples of plant materials suitable for Eco-printing that are found globally include:
- Leaves: Maple, eucalyptus, oak, willow and sumac are some of the most commonly used leaves for Eco-printing.
- Flowers: Many flowers can be used for Eco-printing, including red roses, marigolds, geraniums, coreopsis, and cosmos ( Cosmos bipinnata and Cosmos sulphureus).
- Bark: The bark of certain trees, such as birch, cherry, and willow, can be used to create unique patterns on fabric.
- Berries: Berries such as elderberries, sumac, currants, and blackberries can also be used for Eco-printing.
- Other materials: Other materials, including kitchen waste, that can be used for eco-printing are onion skins, avocado pits, and herbs such as sage and mint.
Step-by-Step process:
As a beginner, my approach to the process of Eco-printing is as follows:
- Gather materials: Collect plants and other natural materials that you would like to use for your Eco-printing project. Some popular choices include leaves, flowers, berries, and bark.

Maple leaves, New Jersey 2019
- Preparing the Fabric/paper: My first Eco-printing project was on handmade paper. I prepared the paper by drenching it in water.
- Preparing the Natural Materials: Soak the collected natural materials in a 10% alum solution. The alum on the leaves and flowers will allow the natural dye to adhere on the cellulose based paper. The botanical matter can also be soaked in homemade iron solution and then be applied to the fabric or paper.
- Arrange the materials: Arrange the plants and other natural materials treated with mordant on the paper. You can use a variety of techniques to create different designs, such as layering or bundling the materials. In my project, I simply layered the paper.
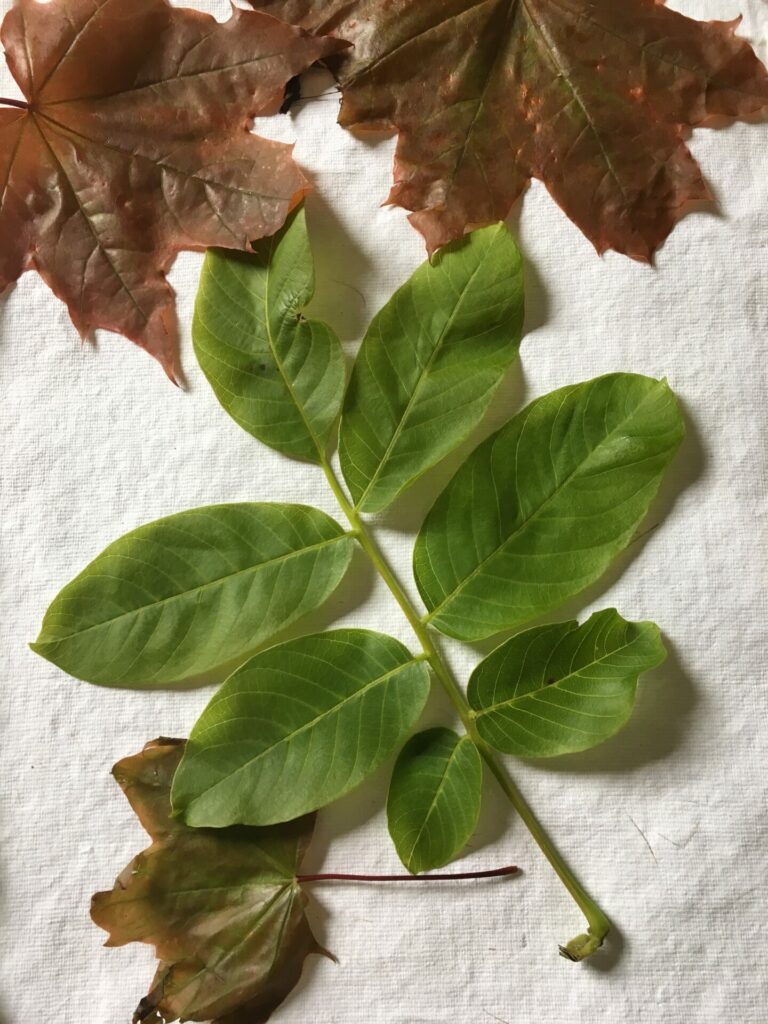
Walnut and Sycamore leaves foraged locally, Graz 2019.
- Wrapping: After arranging the plants and materials, tightly press the paper layers between two wooden pieces or something similar to provide support, and tie a string around it firmly to keep the materials in place. One can also use rubber bands.
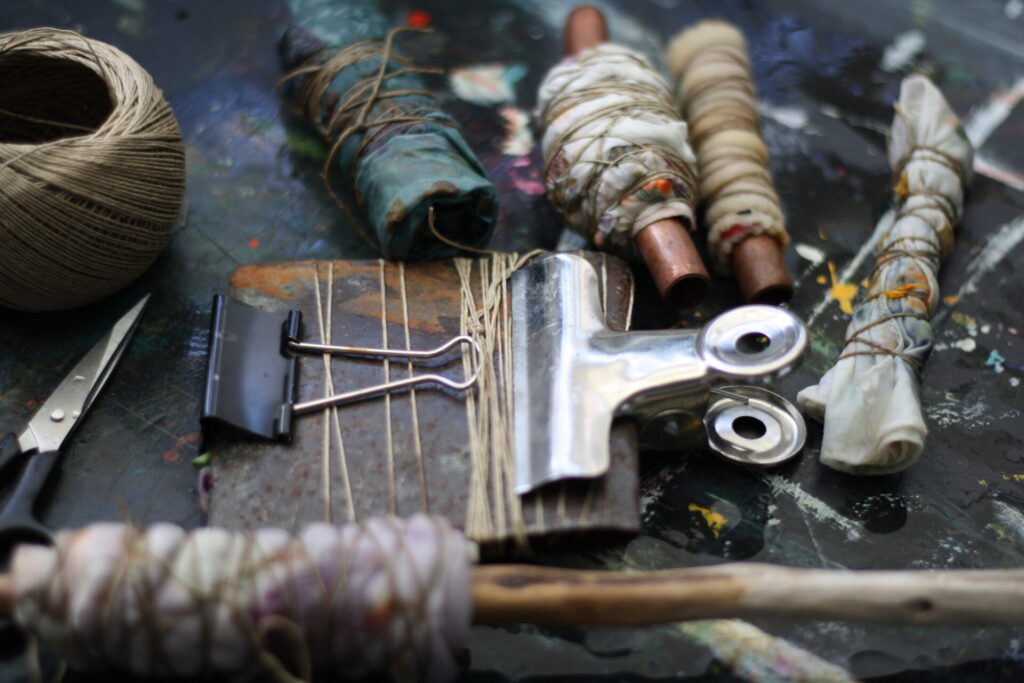
Fabric bundles and paper sandwiched between rusted iron sheets.
- Steaming or boiling: Gently ‘cook’ or steam the eco-printing bundle at medium heat for about 30 minutes, depending on the type of plant and the desired intensity of color one can increase or decrease the length of time. Use heavy weights to keep the bundle submerged under water.
- Unwrapping: After boiling (or steaming) , remove the layers of leaves, flowers, and other materials to reveal the Eco-print on the paper.
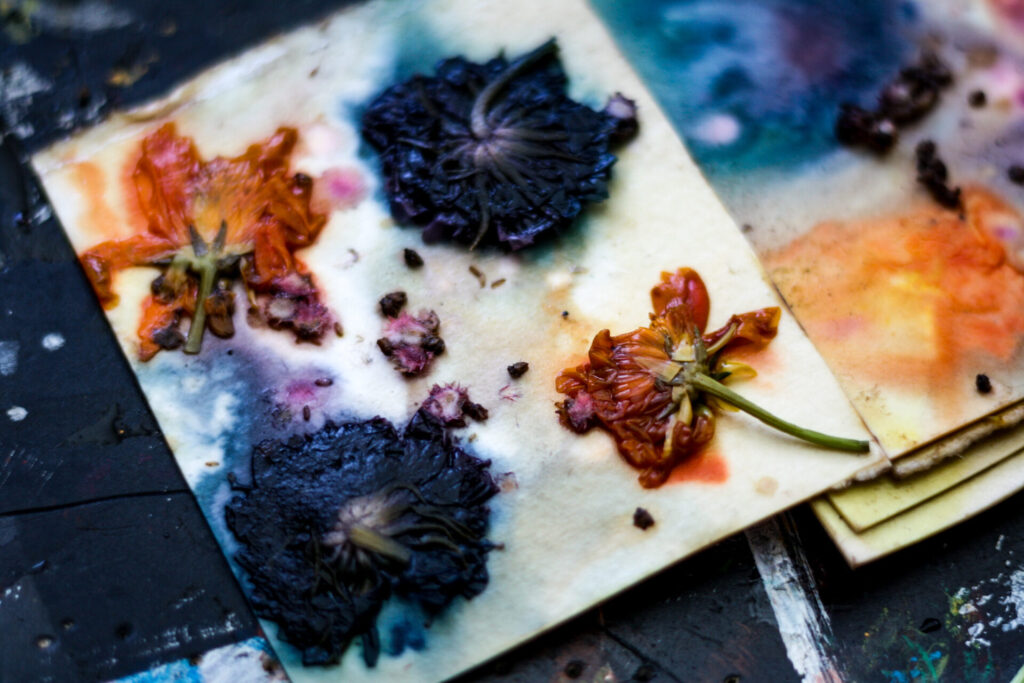
Watercolor paper Eco-printed with flowers from my Dye garden.
- Final washing: Finally, the paper is washed to remove any remaining mordant and allowed to dry.

Remember that the process is all about experimenting and understanding how different plants react to various surfaces, so the outcome may differ from what you had in mind. With perseverance and patience, you will be astounded by the unique and stunning results that Eco-printing can produce. It is critical to gradually and methodically approach Eco-printing and acquire knowledge and abilities safely and responsibly.
After testing it on paper, I tried this technique on a piece of silk fabric with spectacular results. I also experimented with cellulose-based fabrics without using mordants, and the results were intriguing.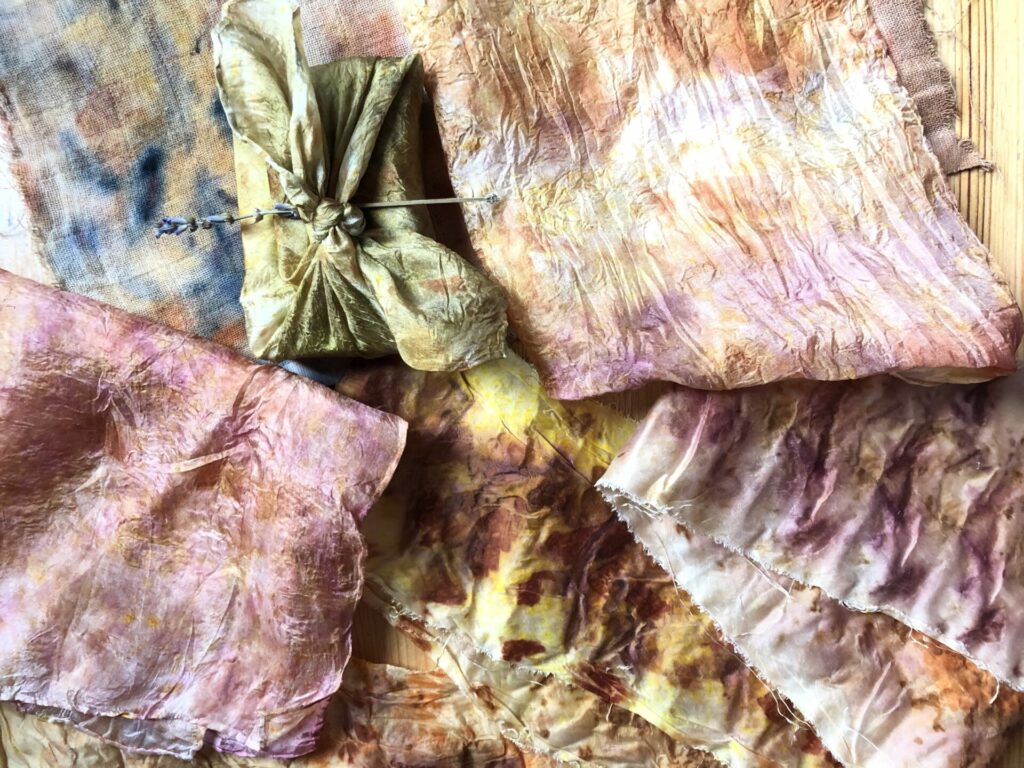

Edit (August 2024): If you’re eager to explore the world of eco-printing without using any mordants, don’t miss my latest e-book, A Beginner’s Guide to Eco-Printing on Fabric and Paper. Inside, I share my step-by-step process, along with tips and techniques to help you achieve beautiful, vibrant prints—completely free of powdered mordants.
Bundle Dyeing for Beginners: A Step-by-Step Guide to Creating Beautiful Fabric Patterns
Final thoughts
Eco-printing is a beautiful and creative way to dye your chosen surface using natural materials, resulting in a one-of-a-kind piece where each creation tells its own story. It’s a meditative practice that fosters a deeper connection with nature. From foraging leaves, flowers, and other botanicals to preparing and printing them on fabric or paper, the process is slow, mindful, and deeply relaxing.
No Comments