
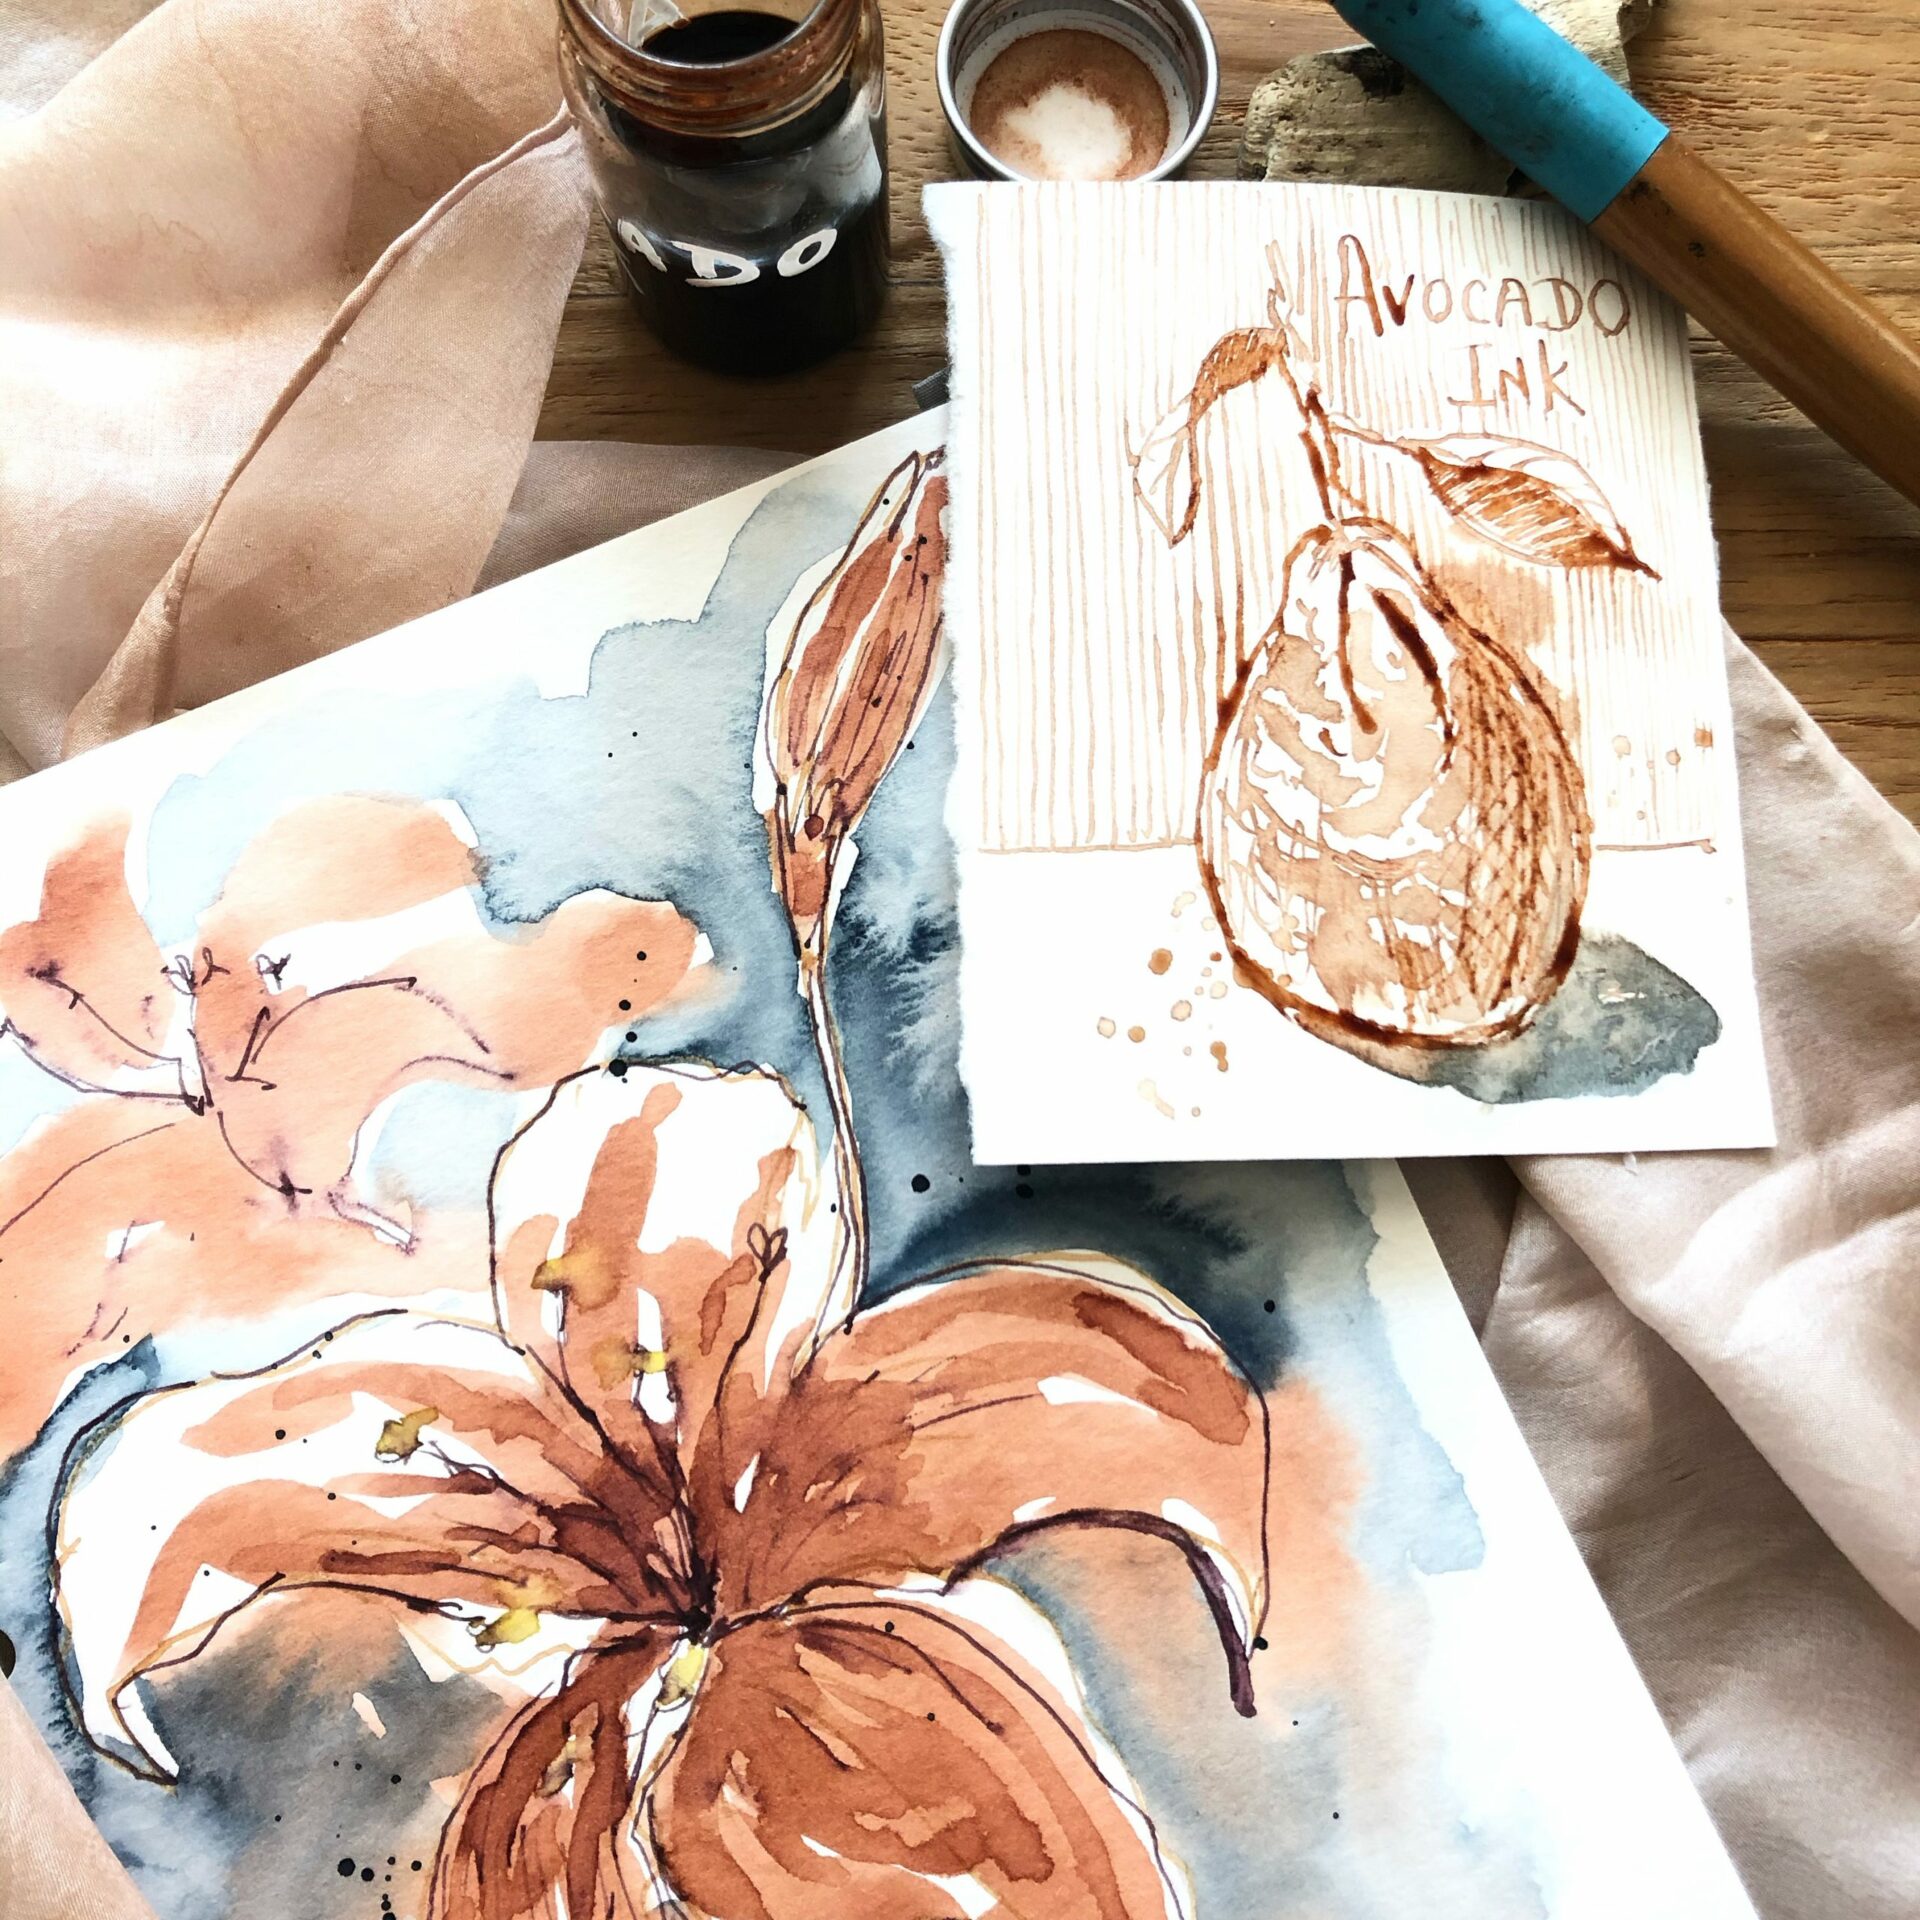
A few years ago, I published an article as a guest blog post and almost forgot about it. Recently, I stumbled upon my old article and decided to share it with the creative community of my blog. In this post, I’ll show you how to create beautiful loose watercolor florals using natural pigments, with easy techniques that both beginners and experienced artists can enjoy.
I often receive inquiries about incorporating natural colors into artistic endeavors. While natural pigments do have their limitations, the final outcomes often surpass anything created with synthetic colors. There’s a serene quality to natural colors that is soothing to the eyes and brings immense joy knowing you’ve crafted something with ingredients from the earth. Working with these natural hues not only connects us more deeply to our surroundings but also imbues our creations with a sense of authenticity and harmony.
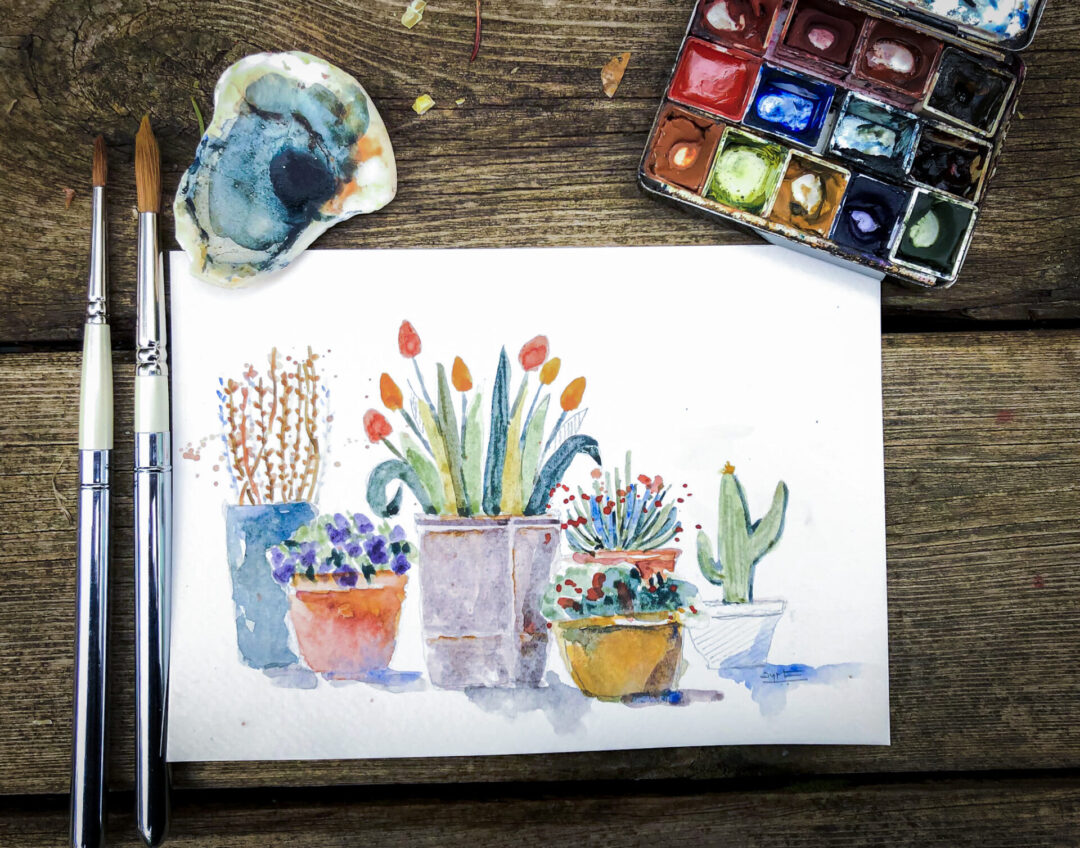
Follow me along or just use this project as an inspiration for your next idea! The inspiration for this tutorial comes from a florist I came across during my morning run in my beautiful city of residence, Graz, Austria. So let’s gather our art supplies to make some marks, enjoy the creative process, and indulge in some expressive color play!
Supplies
These are recommended materials. Make the best of what you have!
- Watercolor paper (cold press 200 gsm or heavier)
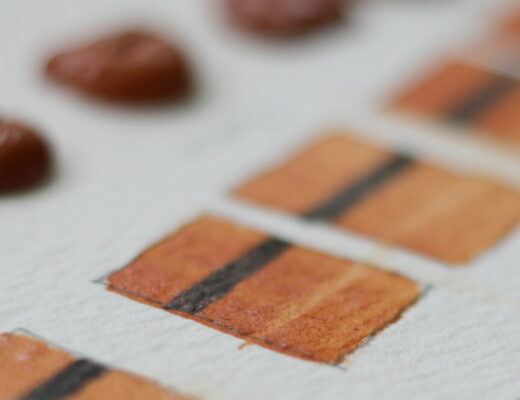
- Handmade natural watercolors (work with whatever you have)
- Pencil
- Watercolor brushes: Small no.4 round and Medium no. 8 round.
- Jar of Clean Water
- Rag or paper towels
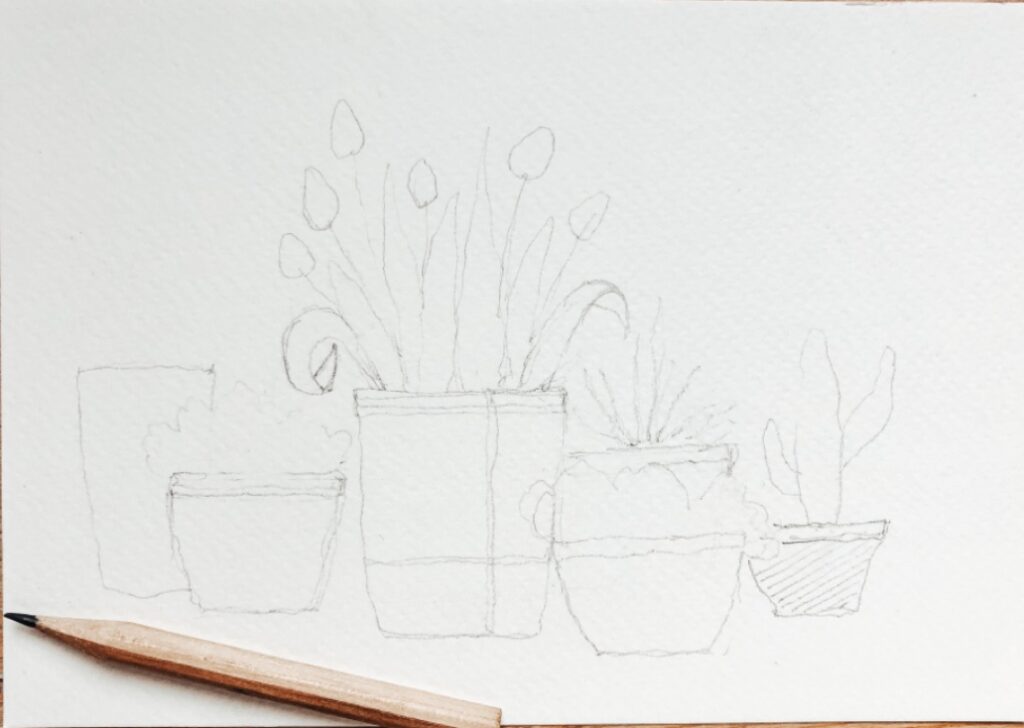
Step 1: Sketching your subject
Hold your pencil from the bottom end, make loose and expressive marks. Sketch without lifting your pencil and try not to think too much.
Keep your drawing simple and light. I’ve also sketched some guides to indicate where the leaves will be.
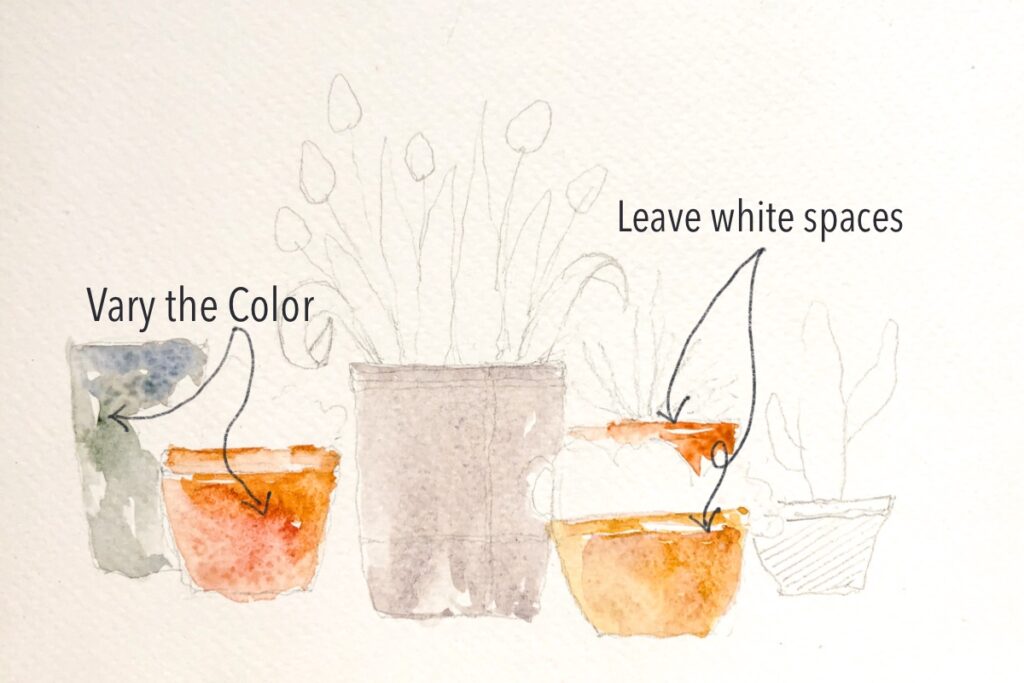
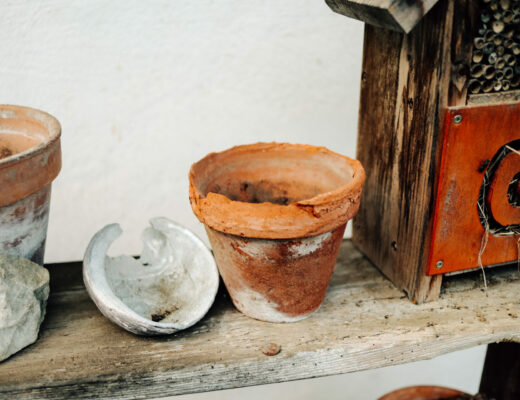
Step 2: Adding first wash to the pots
Let’s bring our sketch to life by adding some color! Use a medium brush to apply red or yellow ochre paint for the first wash on the smaller pots. Vary your brush strokes and leave some white spaces in the pots. For the large pot in the middle, create a very dilute neutral tint by mixing ultramarine blue and burnt sienna. Leave the pot with the cactus in pencil for contrast. Apply darker shades of paint to the side in shadow and lighter shades where the light hits.
Step 3: Painting the plants
While you wait for the first layer to dry, start painting some plants. Use green earth and a mix of yellow ochre with ultramarine blue and genuine indigo to create different shades of green. For variety, paint tulip leaves in two different colors. For the plants in the smaller pots, simply paint a basic plant shape. In the tall pot in the far left corner, use a small brush to paint pussy willow branches with raw umber, burnt sienna, and yellow ochre. In the red pot (second from the left), paint some flower shapes in any color you like; I have chosen logwood violet lake.

Step 4: Adding second wash to the pots
Apply a second layer of the respective paint color on the shaded side of all the pots. Use a damp brush to blend and soften the hard edges. For the pot in the middle, add darker values and a touch of orange ochre to create a rusty appearance. You can also splatter some watercolor to add texture and keep the look loose and dynamic.
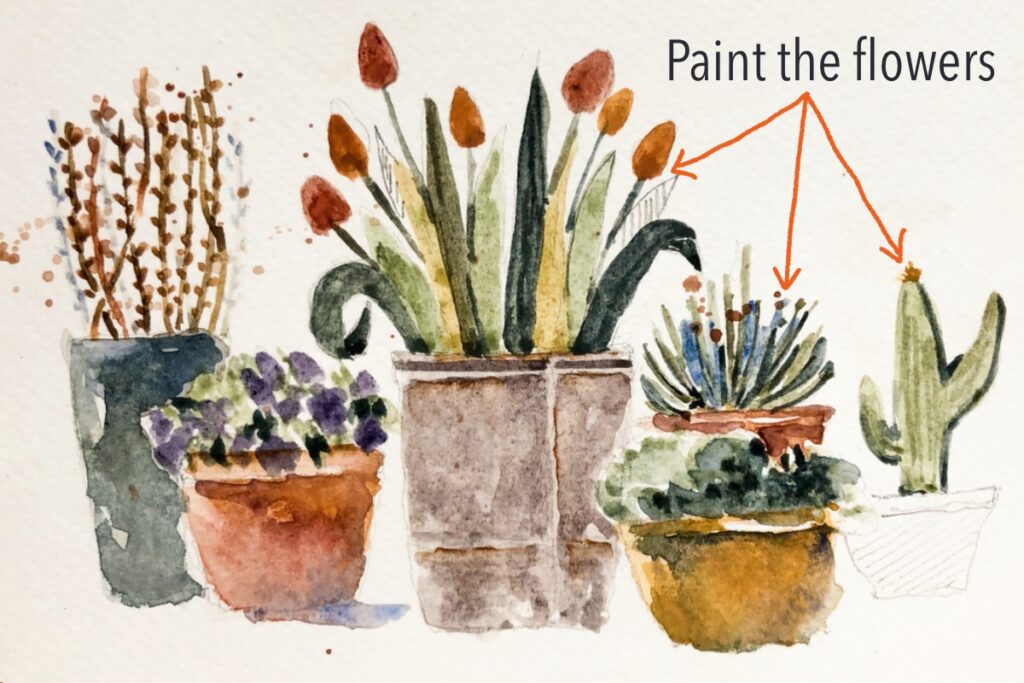
Step 5: Adding depth and flowers
Mix a darker shade of green to add depth to the leaves and plants. Paint tulip-shaped flowers in the middle pot. For the smaller pots, splatter some watercolor to add a lively touch. Finally, add shadow color to the base of each pot.

If you will like to learn more about How to Watercolor Expressively, then stop by my class on Skillshare (https://skillshare.com/user/jyotsnapippal).
No Comments